Overwatering is one of the most common mistakes in indoor gardening. Many people want to take good care of their plants, so they start pouring excessive amounts of water on them. It is potted plants that usually get hurt.
In this article, we will tell you how to know if your plant is getting overwatered or not. We will also give you some advice on how to save your overwatered plant and not overwater plants anymore, so you will never ask “I overwatered my plant, what do I do?”
How do I know if I overwatered my plant?
Overwatered plants may often look like underwatered ones. Confusing the two cases will lead to your plant getting killed. That’s why it is vital to understand and see the differences.
The main signs of an overwatered plant
- Soggy soil. You’re sticking to your common watering routine and notice that the wet soil is not drying out between waterings. That is the most common sign of overwatering;
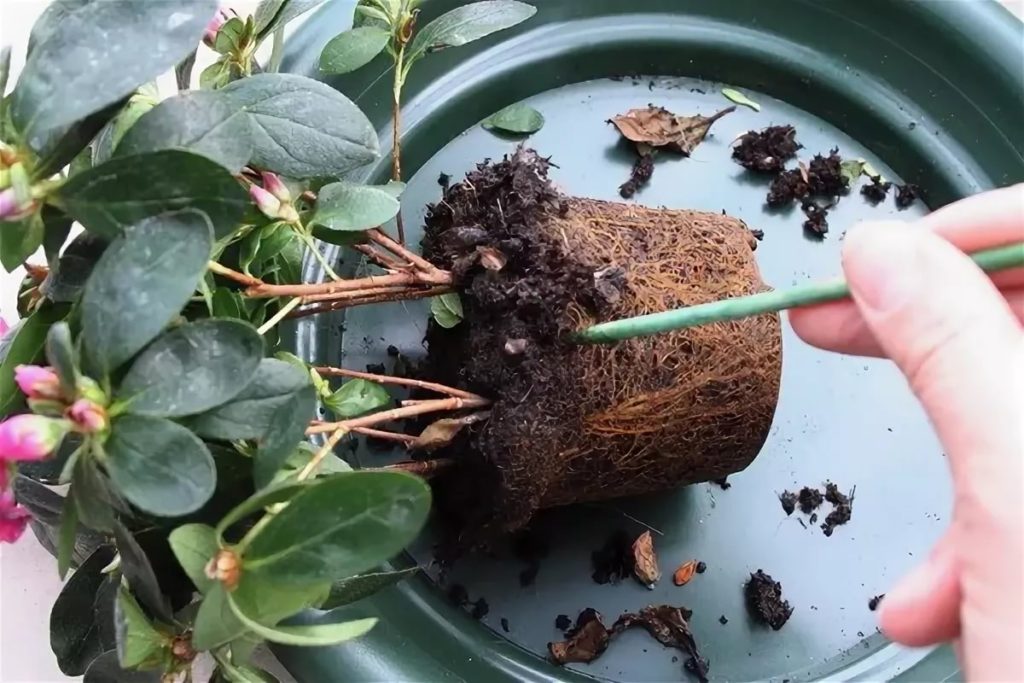
- Root rot. If your type of pot or mix allows you to examine the plants’ roots, you should check their appearance. If they’re brown and soft instead of being white and strong, they are rotten. That is because they cannot handle the large amount of water you give them;
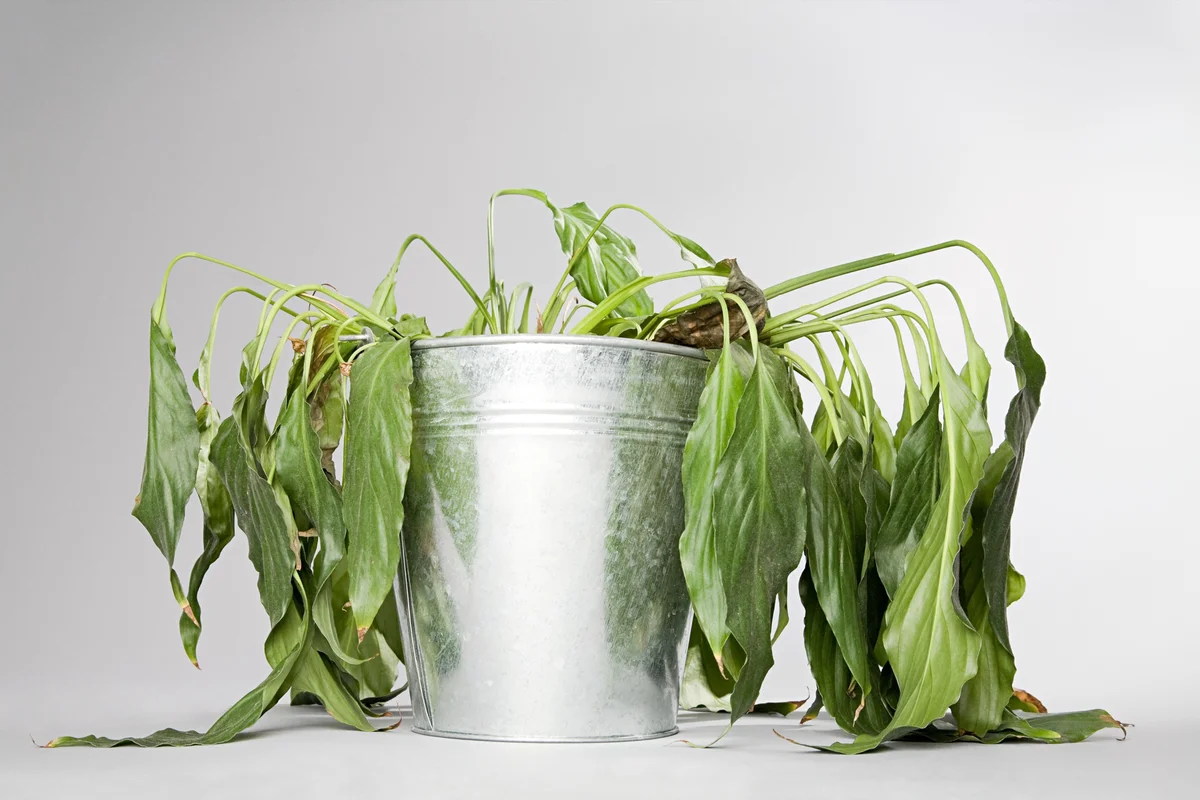
- Wilting leaves. This sign can be attributed to both under- and overwatering. In both situations the nutrient flow of the plant gets shut down;
- Swollen or soft leaves and stems;
- Changes in leaves’ color. The leaves become light green, yellow, or even brown;
- Old and young leaves fall off;
- Brown spots in some places of plants’ foliage;
- Leaf edema. This is a common condition of overwatered plants. When leaves get too much water from the plants’ roots, their cells start popping and forming patches and bubbles that look unpleasant;
- Slow growth and development problems;
- Fungus and green algae. These microorganisms love high humidity levels, so they start growing on the leaves, stems, and in the soil of an overwatered plant. They produce unpleasant smells, which helps you notice them;
- The appearance of other moisture-loving pests. These include gnats, powdery mildew, mushrooms, etc.
You don’t have to check for all of those signs when examining one particular plant. For example, a soggy environment and brown spots combined are already enough to say that the plant is clearly overwatered.
What are the causes of overwatering?
Watering routine
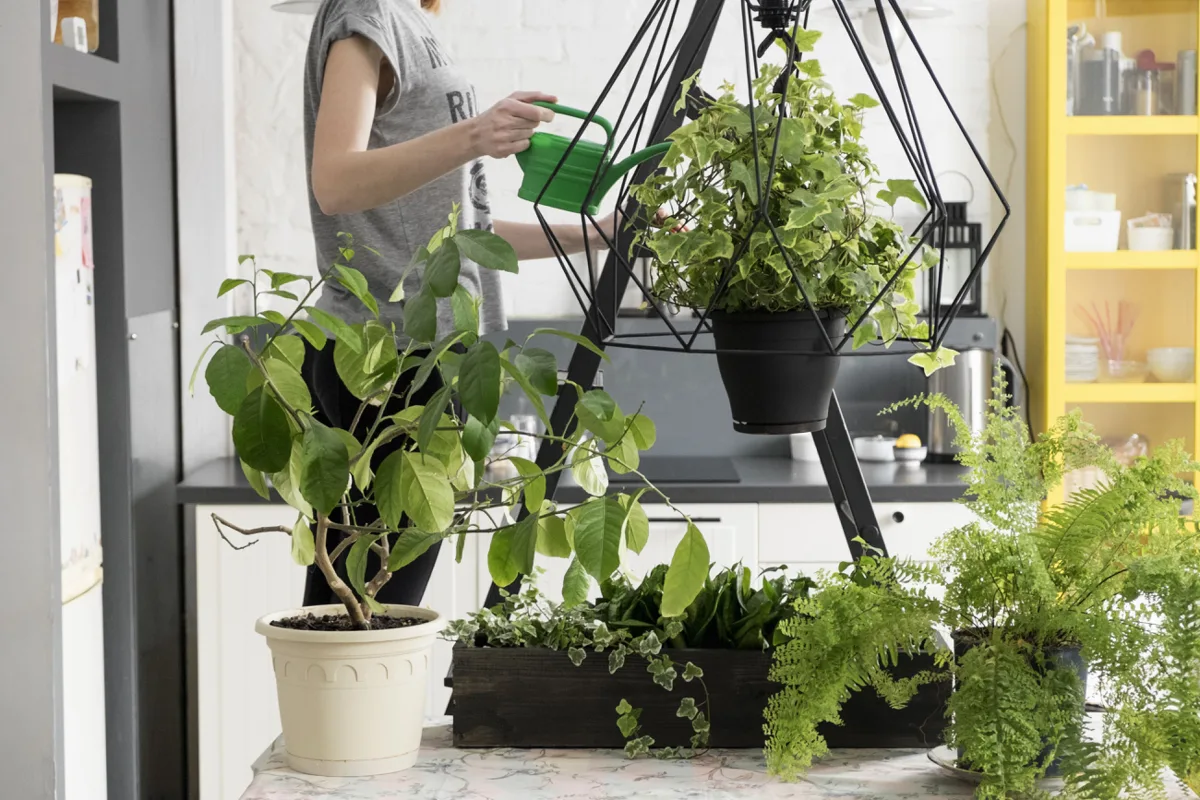
The most common reason for overwatered plants is the wrong watering practice. When you water your plants too often, the soil doesn’t have enough time to dry out properly. That’s why you shouldn’t stick to some abstract schedule. You should check the soil every time you want to water the plant instead. If it hasn’t dried out yet, then delay the watering, even if the schedule tells you to do it right this day.
Bad drainage
The reason for overwatering can lie in the soil structure. Poor drainage causes the water to remain around the plant’s roots and makes the environment soggy leading to overwatered plants.
Drainage is the soil’s ability to give the excess water away and dry out quickly enough.
That’s why it’s important to choose the right potting soil with proper drainage for your plant. But even a well-draining mix with lots of organic matter becomes compacted over time. Additives like pumice, perlite, vermiculite, and sand can improve the drainage significantly when added to the mix. If you don’t re pot your plants often, you can just mix these amendments into the soil.
The type of your plant
Even if you have many different indoor plants in your home garden, you should approach each one of them individually. The main difference between these plants’ needs is not the way they are watered, but what type of soil they prefer.
The mix you choose for a plant should meet its needs well. The mix for cacti and succulents is supposed to drain relatively quickly, while Monsteras prefer slightly moist but not soggy soil that doesn’t drain that fast.
If you chose the wrong type of potting soil mix, you can fix it by mixing some additives in or just use it for another plant.
Temperature & Humidity
Temperature. Everything is simple here: the higher the temperature, the quicker the water evaporation and the faster the soil drying. When picking a watering schedule, consider the region you live in: a schedule for a warmer area will be an overkill for a colder climate.
Humidity. High air humidity level makes water evaporate slower. You might have high humidity due to your humidifiers, water-filled trays, etc. This factor can greatly affect your routine.
Pot size and materials
- Container size. The larger the pot, the more water it can hold after each watering and the longer it takes for it to dry out. So when you re pot your plants from smaller containers to larger ones, make sure you adjust the watering frequency.
- Materials. Terracotta pots’ material is quite porous, which makes evaporation easier. Terracotta pots dry out faster, while plastic and glazed pots trap more moisture and dry out longer.
- Drainage holes. The pot you use is supposed to have at least one drainage hole at the bottom. If there are no holes, you might want to check the plant’s roots for root rot and re-pot the plant. You can also drill some holes in the existing pot if it is a plastic one. You could use a screwdriver or even a knife for that.
Trying to make drainage holes in ceramic or clay pots is no use – you’ll most likely break the pots.
Plant dormancy
Some types of plants have regular cycles of dormancy. Those are periods when the plants don’t need their usual amount of water, they usually occur during cool seasons. You should know whether your plant has such cycles and adjust the waterings when the signs of dormancy are appearing.
What are the consequences of overwatering?
Overwatering is one of the most common issues and causes of plants’ death.
Even experienced horticulturalists face it from time to time. Some plants might tolerate poor soil, low light, dry and hot conditions, but wouldn’t stand an overdose of water. Even if you are a beginner and want to show love for your plants, you shouldn’t pour lots of water onto them.
Overwatering drowns your plants’ roots
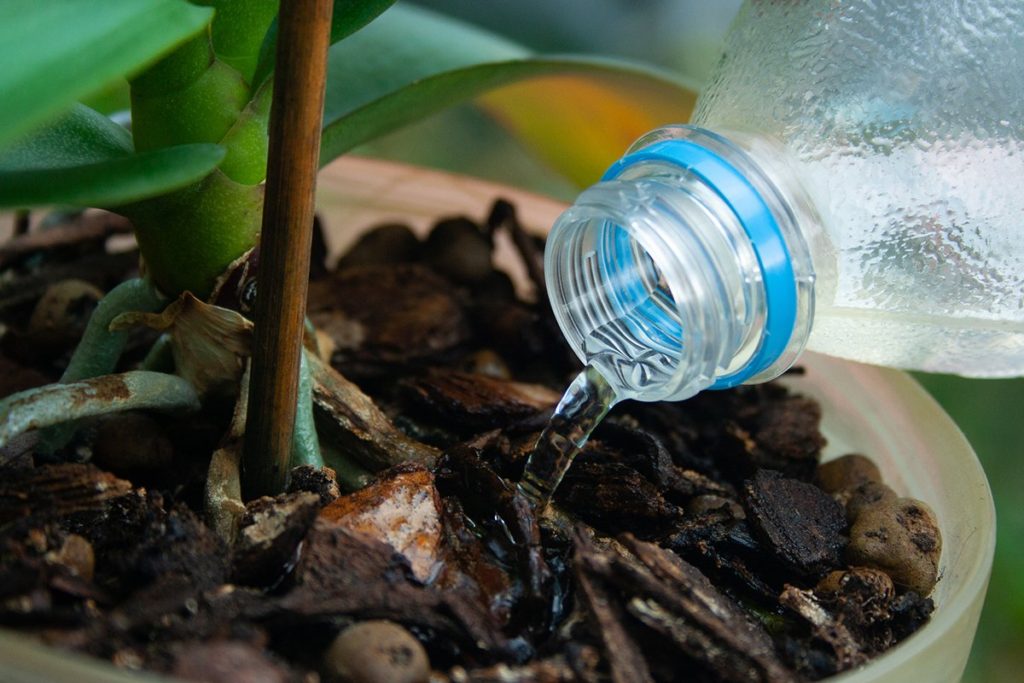
The roots not only suck water and nutrients but also engage in gas exchange. Too much water just blocks the roots from getting oxygen from the air.
Overwatering causes infection
By blocking oxygen, the water sets up an anaerobic environment, making the soil a great place for different pathogenic bacteria to grow in overwatered plants’ roots. And you don’t want that in your soil.
Plants need enough moisture that doesn’t stay for too long, and plants need good aeration.Soaking for 5-10 minutes will not harm the plant if the soil drains quite quickly.
How do I save an overwatered plant?
Your actions will depend on how much harm has been done to your plant. You can also find out more information about indoor plants.
Suspected slight overwatering
If you cannot see any clear signs of overwatering, but the soil is quite soggy and you think you have added too much water, this one is your case.
Here are the steps you should take:
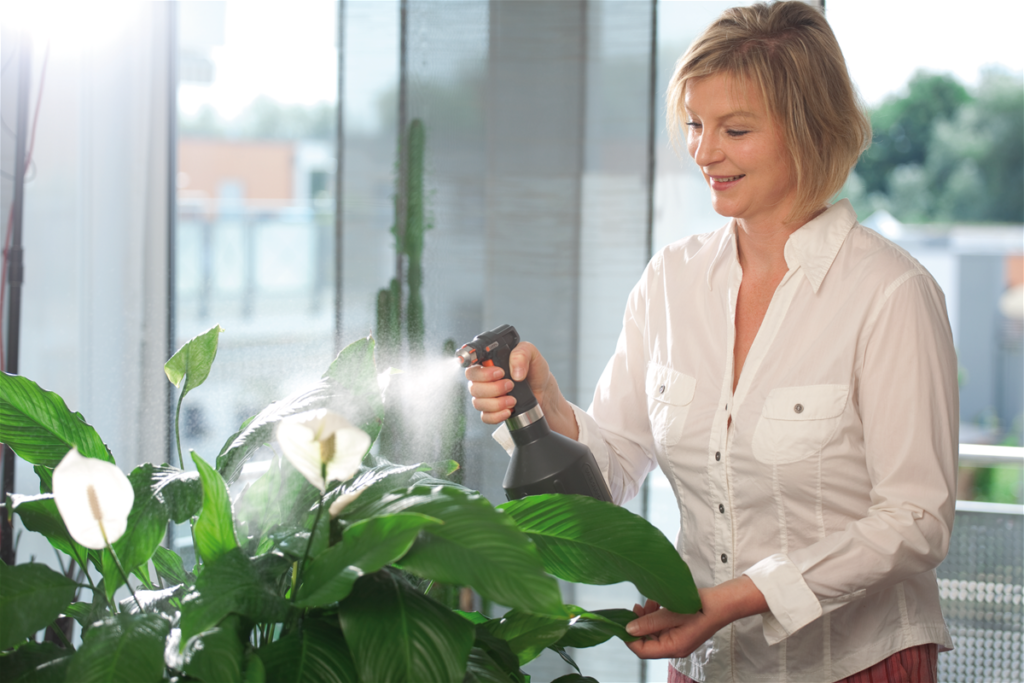
- Stop watering and wait for the top 2 inches of the soil to dry out;
- If there is standing water on the surface, tilt the pot to drain it away;
- Check the cache tray for any excess water, and empty the cache if needed. It may refill with water, so you should check it multiple times;
- You can give the plant more light so it will use more water. Just remember the plant’s preferences – if it doesn’t like lots of direct sunlight, don’t force it and skip this step;
- Do not give the fertilizer to your overwatered plants just yet – it will complicate the recovery. Wait for stable conditions to return, only then continue to feed them;
- If you can, increase the temperature by a few degrees. This will make evaporation faster;
- Lower the air humidity. You can move the potted plant to a drier room separately.
When overwatering causes signs of plant stress
If you notice some signs of overwatering like yellowing leaves, leaf edema, or stem swelling, you got less lucky. But it is still possible to recover your overwatered plants completely. First, you need to do these steps:
- Stop watering the plant. Wait for the top layers of soil to dry – it can take several days;
- Move the plant away from strong light. You don’t have to put it in the dark, just bring it into the shade away from direct sunlight. The overwatered plant has problems in its transporting system, which can make the upper parts of the plant dry out when exposed to sunlight. When you’re done with other problems, you can put the plant back into the bright light.
Now it’s time to check the plant for root rot and re-pot it if needed. You’ll need to take the plant out of the pot for that.
Dealing with Root rot
- Tap the sides of the pot. Take the pot and carefully tap its sides using your hand or some tool like a shovel, do it multiple times. This will loosen the soil to help the roots breathe and help you take the plant out;
- Take the plant out of the pot. Prepare some newspapers, paper towels, or clothes to hold the plant above them. Now gently slide the plant out of the pot by holding the base of the stem with one hand and the pot with the other. While removing the plant, slowly turn it over and shake the pot, the root ball should come out of it. Hold the plant upside down above the clothes or paper on the floor;
- Remove the old soil to expose the roots. Use your fingers to take the soil clumps away. You can use a light brush to clean the roots to see them better. If you see some moldy soil of green color, throw it away. If the soil looks ok but has a putrid smell, throw it away too – that means it contains root rot or some algae. Even if the soil seems to be clean and healthy, it is better to place the plant into a fresh potting soil mix.
- Sterilize your cutting tools. In the next step, you will probably need to use some cutting tools like shears or a knife. It’s always better to sterilize them before and after you use them. You also should clean and sterilize the old pot. You can do that by soaking it in a bleach solution (1 part household bleach + 9 parts water) for at least 15 minutes. Then just wash it with dish detergent.
- Cut off any brown and smelly roots. Normal, roots are white and sturdy, while rotten roots are brown or black and they have smell of decay. Take scissors or pruning shears and cut all the rotten pieces you can spot. If almost all of the roots are rotten, it is most likely that you cannot save the plant anymore. But you can still try and cut all of the dying roots leaving only their bases, and then repot the plant hoping it will grow some new and healthy roots.
- Cut off some dead and healthy leaves and stems. Just like with roots, you should get rid of all the brown and black upper parts of the plant. If you have cut off a large part of the root system, you will also have to cut the same amount of healthy foliage. This is done because the remaining healthy roots cannot support the entire plant with the same amount of leaves and stems, so the upper parts of the plant will be dying anyway. Just start cutting at the top and remove about the same amount of matter as you did from the roots.
- Finally, re-potting. Take a new pot with draining holes at the bottom, fill it with new soil mix and place your plant in it. You should use a mix with better drainage this time. In order to avoid standing water at the bottom of the pot, you can make a layer of small stones and pebbles before adding the soil.
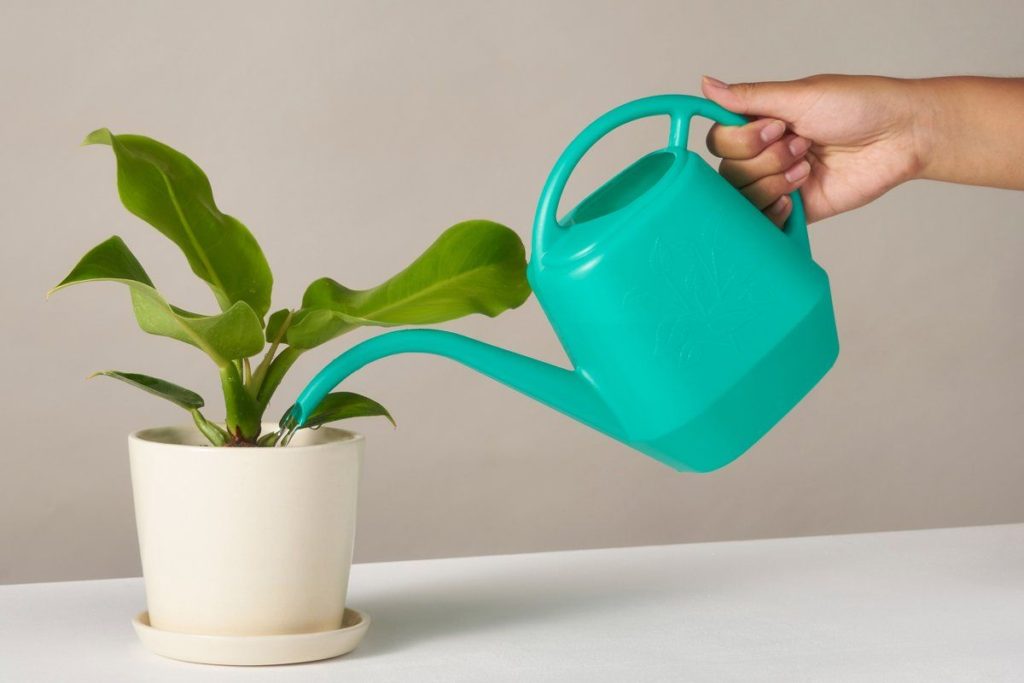
After dealing with the root rot, you need to take the following extra steps to avoid any further problems:
- Avoid fertilizer before the plant shows new growth;
- Aerate the soil by creating several holes in it using a chopstick or pencil. Just do it carefully so you don’t damage the roots;
- You can add some amendments to the soil like perlite, pumice, or coarse sand. All of them make the drainage better;
- You can add cinnamon to the soil. It has anti-fungal properties;
- As soon as the soil dries out, start watering it again and checking how much time it takes for the soil to dry. When the plant starts growing again, place the pot in a place with bright light;
- Continue to water carefully. The plant now needs less water than before, because there are fewer roots (if you have cut off a significant amount of the root system).
What should I do to avoid overwatered plants?
- Too much is worse than too little. If you’re not sure how much water your particular plant needs, it is better to keep underwatering it until you figure out exactly how much water is needed. Most of the time underwatered house plants recover easier than overwatered plants.
- Reduce the watering during cold seasons. Plants slow down their growth in fall. That’s when the humidity level rises and the average temperature drops, so you should adjust your routine accordingly.
- Water-from-the-bottom method. You can try to water your plants from the bottom if you’re having trouble with overwatering them from the top. Pour some water into a saucer or tray and put the plant in the water for no more than 30 minutes before removing it. Holding your plant in the water for more than 30 minutes can harm the plant.
- Check the soil condition before each watering. If your plant’s care instructions don’t say otherwise, you should water your plant only when the top of the soil is completely dry when you touch it. If your type of plant likes to dry out between waterings, you can check the soil by putting your whole finger into it. If it feels completely dry, water the plant. This is just a rule of thumb, the plant care requirements can tell you more specific information.
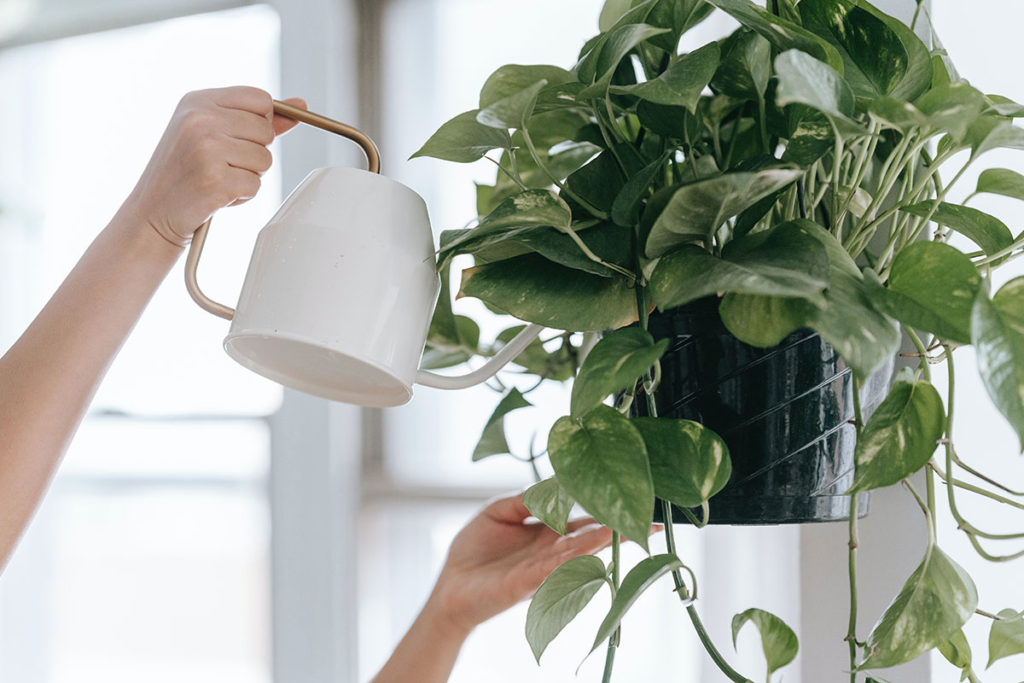
Conclusion
Now you should know what the common signs of overwatering are, how to avoid overwatering, and how to rescue overwatered plants. We advise you to read plant care requirements for every particular plant you have. They will give you an idea of what your watering routine should look like. Once you get to know your plants, you will never take things too far. You can also read about how to choose best soil for houseplants.
Can an overwatered plant be saved?
It is possible to save an overwatered plant, but it depends on the severity of the situation and how quickly it is addressed. The first step is to remove the plant from its current pot and allow the excess water to drain away. Then, check the roots for any signs of rot, and if necessary, trim away any damaged roots. Once the roots are healthy and dry, the plant can be repotted with fresh, well-draining soil. In the future, be sure to check the soil moisture level before watering the plant to prevent overwatering.
How long does it take for an overwatered plant to heal?
The time it takes for an overwatered plant to heal can vary depending on the severity of the damage and the type of plant. In general, it can take several weeks for the soil to dry out and for the plant to recover. However, if the roots have been damaged severely, it may not recover and may need to be replaced.

